Reborning process
Please note that this is the way I reborned Sammie's kit (Adrie Stoete). I don't make every baby the same way. It depends on what you like to achieve. For Sammie I wanted a delicate skin texture, soft and pink. Thanks for looking!!
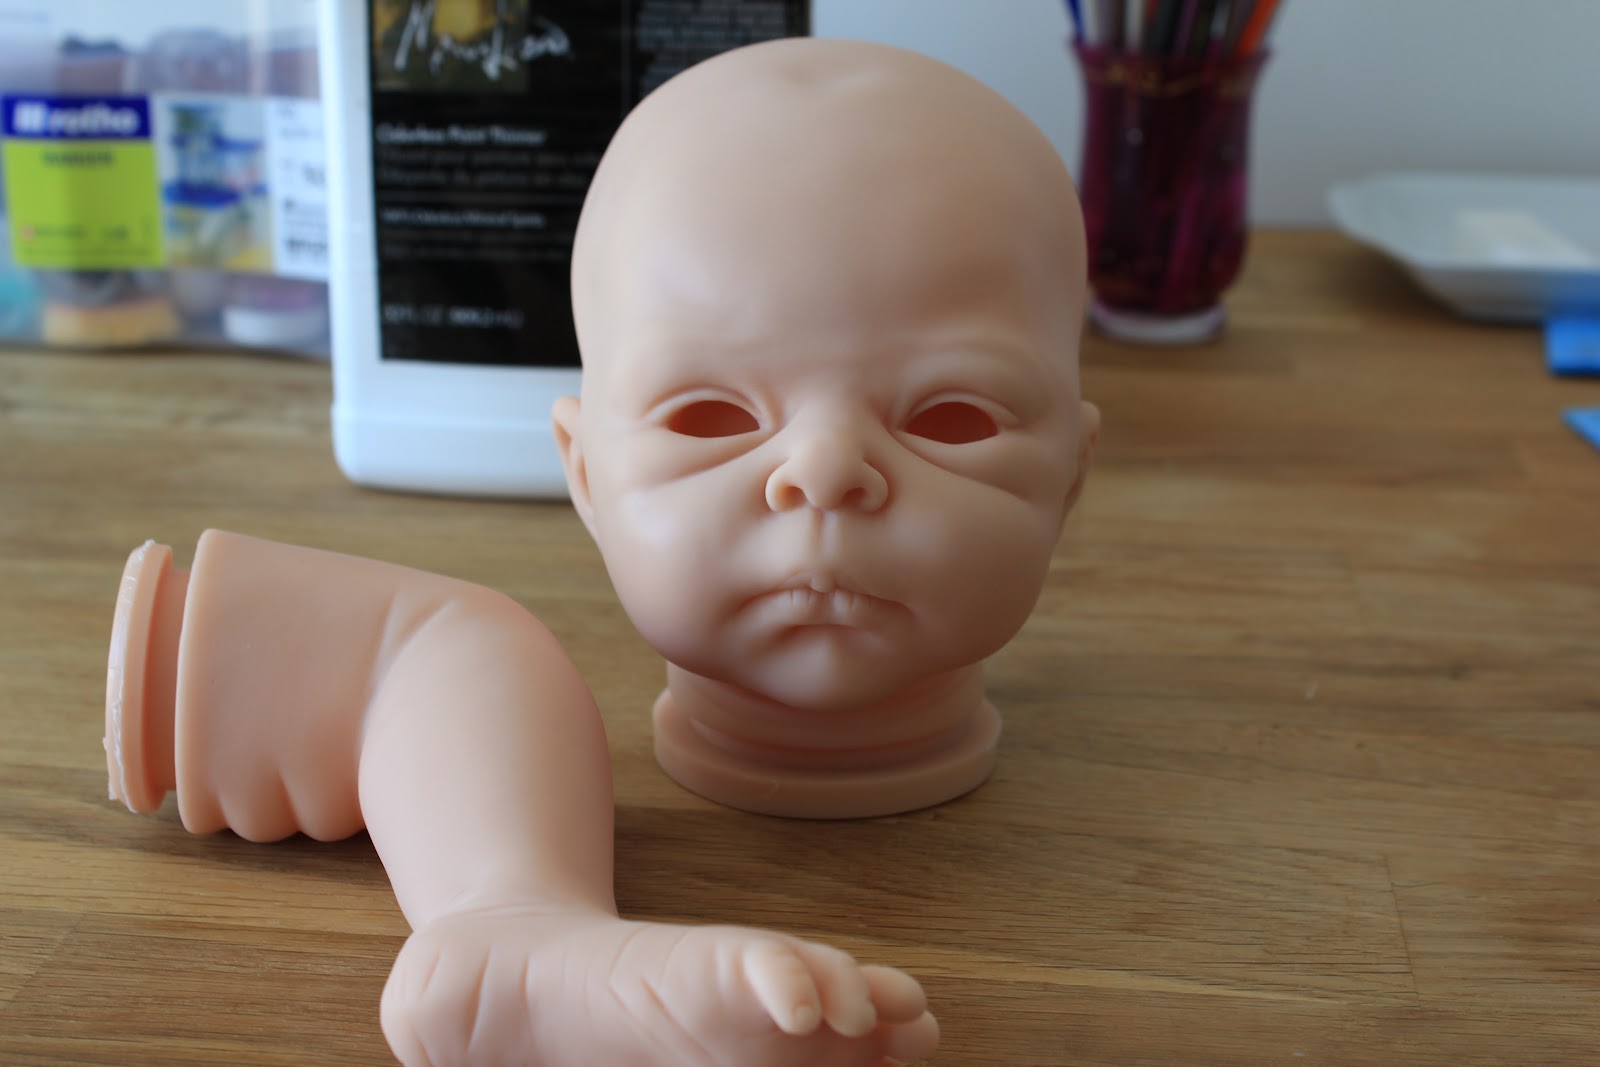
Sammie started as a blank kit coming from Adrie Stoete. First of all it is very important to give the baby a soapy warm bath. Take care and don't wet inside the head, arms or legs, water can take ages to disappear. You let the baby air dry on a towel.

After this I normally do an internal wash with Authentic Reborn Internal Wash...this time I forgot to do it...but it is not a problem. Internal wash can be done at anytime
Step 2
Flesh layer
This layer is very important and you have to do it the best way you can, flawless if possible, because later you can see everything on the vinyl. I make a coat with AR skin texture and then another one with Genesis flesh 08. Between each coat the kit goes to the oven for 8 minutes with a temperature of 130°C
I use a cosmetic wedge for this. I put the paint with my pencil over the sponge, and then I pounce all over the baby.

Step 3
Flesh 08 + a bit of burnt umber

here I have painted his head

Step 3
Creases
For the creases I say the same thing. What kind of color or what effect do you want to create? Ar this case, as I wanted a pink and softer baby I decided to use the AR strawberry blush + AR strawberry creases. But as I said it depends on you. There are many other possibilities.
Step 4
Veins
I paint the veins with the AR veins premix (other times I use the Bountiful Baby veins premix) Before I used to draw veins at first, but I realize that at the end you couldn't hardly notice them, so I ended doing them some layers later.


Step 5
Lips
The most important thing about lips, is that you need to build them in multiple and different layers. Each time you make a layer for the whole kit, you should make another one for your lips (with a different color). And each time you do it, don't put a big amount of paint, just a thin translucent layer, that begins from the centre and goes to the sides. For my first coat I used genesis thinner with the strawberry blush and then I set it with the heat gun.

Step 6
General mottling with sponge with AR strawberry lips + AR strawberry blush. Just dab softly all over


Step 7
Burnt Umber
I like to make a coat of burnt umber all over the baby, but this layer is really watery, if not the baby turns darker. The priority is to add some skin pigment, so that the baby looks real and not too red.

Step 8
Vein blue wash
Now I add a thin layer of watery AR vein blue all over Sammie. This gives a lot of blue undertones that you always find when you look at the real skin

Step 9
Yellow ochre wash
As with the blue undertones, I find that yellow pigments are very important and necessary if you want to achieve a baby alike skin color. So, at this stage I apply all over the baby one thin yellow ochre layer, with a lot of odorless thinner, as I want it to be translucent. This gives dimension

Step 10
AR Strawberry lips with the sponge all over and also over the lips!

And between each layer as always: heat set for 8 or 9 minutes in a pre heated oven. Temperature: 130°C

Step 11
Another mottling. This time with Strawberry lips (the previous mix) + Quinacridone Crimson 01 + flesh 8
With this mix I want to make some highlights on cheeks, nose, chin, elbows, knees, hand palms, feet soles, fingers,... You dab the outlines with a dry brush
Step 12
Flesh 08 + a bit of yellow
I really like how Sammie is taking colors, but he needs another flesh layer. That way, red tones turn lighter and they aren't so obvious. I add a little bit of yellow.
Step 13
Blue tone with odorless thinner
With my pencils I put some more blue in areas that I think don't have too much (above eyebrows, between fingers, soles, palms, knees,... I also do the nails with strawberry blush and the belly button. For the belly button I use Quinacridone Crimson + black. And another lips coat: with strawberry lips
Step 14
More flesh 08 + yellow
I like my baby more pale, not too red, because the babies I see they have a lot of yellow pigments on their face. I will try with this new layer and I think I add a little bit more o yellow this time. At the same time I do my internal wash with AR Internal Wash (like violet and blue) and I can see how the baby begins to become more color and undertones. I do another nails coat and I add Quinacridone Crimson in ears. The lips become a little bit of flesh in some areas.
Step 15
All type of details
I decided to paint again, elbows, knees, cheeks,... with a little bit of AR Sweetheart blush, then I add some vein blue to all parts I think they need more (so that it doesn't show too red), I made capillaries in the ears, eyebrows, nail tips,...
Now, I will add some painted hair and finally I will begin rooting
Look at the difference, Sammie looks fantastic, with wonderful colors:

UNDER CONSTRUCTION. SOON YOU WILL HAVE THE WHOLE TUTORIAL. Thanks for your patience!

